Managing Contacts
And optional integration with MailChimp
It is common for website owners to want to have customers sign up for a newsletter or build a contact list. Cosmos has this built in, and it can integrate the list with MailChimp. Here is how to set that up.
Getting Started
The first step is to create a customer sign up form. The form must have the following fields:
- First name (optional)
- Last name (optional)
- Email address (required)
- Phone number (optional)
Certain “hidden” fields are required, and leave the values empty (i.e. value=""):
- Id
- Created
- Updated
Example Signup Form
Here is an example sign up form. It uses Bootstrap classes to structure it, note that you can use another CSS system instead.
Here is a screen shot:
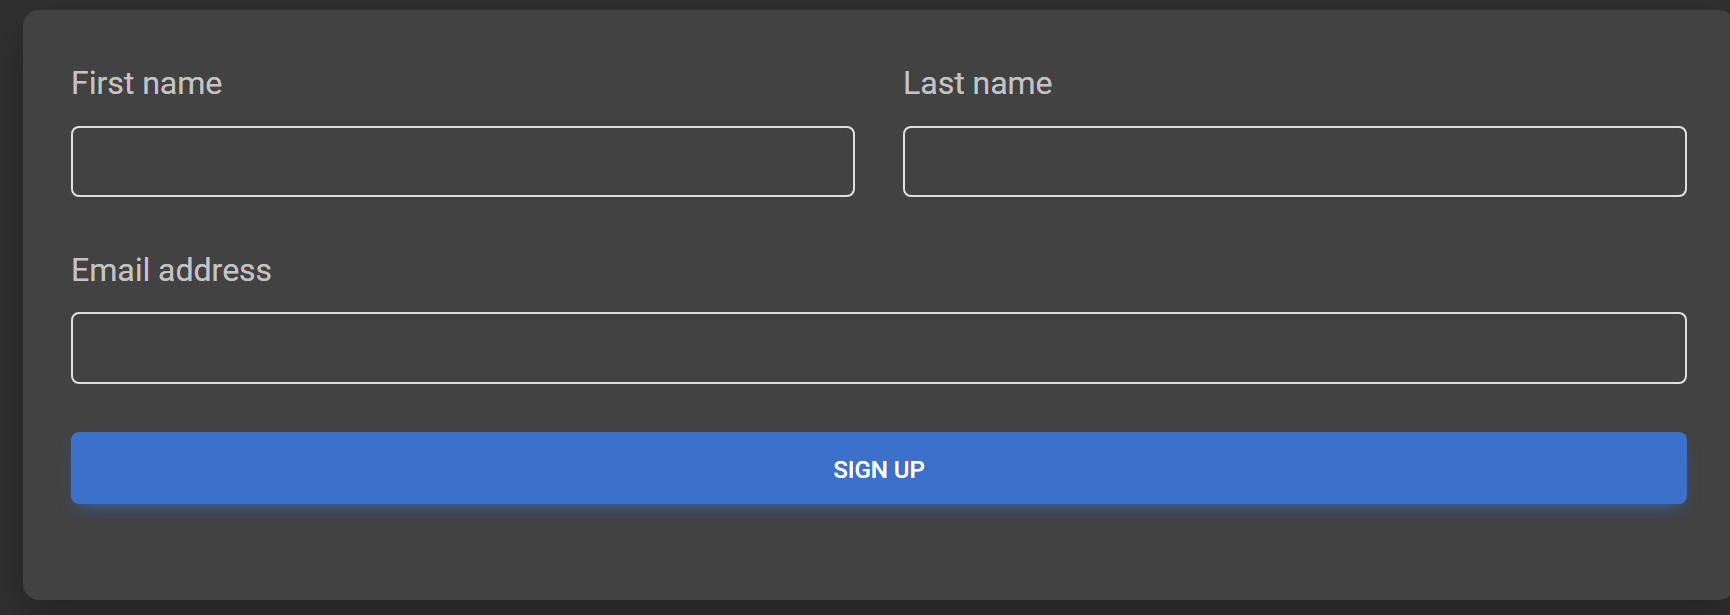
Here is the form HTML:
<form id="frmContacts">
    <!-- These hidden fields are required, but leave empty -->
    <input type="hidden" name="Id" value="">
    <input type="hidden" id="Created" name="Created" value="">
    <input type="hidden" id="Updated" name="Updated" value="">
    <!-- If you are not asking for phone number, create a hidden field instead. -->
    <input type="hidden" id="Phone" name="Phone" value="">

    <div class="row">
        <div class="col">
            <div class="mb-4">
                <div>
                    <label class="form-label" for="FirstName">First name</label>
                    <input type="text" id="FirstName" name="FirstName" class="form-control">
                </div>
            </div>
        </div>
        <div class="col">
            <div class="mb-4">
                <div>
                    <label class="form-label" for="LastName">Last name</label>
                    <input type="text" id="LastName" name="LastName" class="form-control">
                </div>
            </div>
        </div>
    </div>

    <div class="mb-4">
        <label class="form-label" for="Email">Email address</label>
        <input type="email" id="Email" name="Email" class="form-control">
    </div>

    <!-- Submit button -->
    <button type="submit" class="btn btn-primary btn-block mb-4">Sign up</button>
</form>
Here is the JavaScript that submits the form. Note: This uses jQuery. You can implement this using another framework.
<!-- Include this JavaScript library (vanilla JavaScript) -->
<script src="/lib/cosmos/forms.js"></script>

<script>

	// Set the form name
    const formName = "frmContacts";
    // This is the endpoint that accepts the contact information.
    const signUpEndpoint = "/Home/CCMS_POSTCONTACT_INFO";
    // This handles the "submit" event of the form.
    $("#" + formName).submit(function (e) {
        e.preventDefault();

        // "ccms_PostForm" is the method used to post a form with Cosmos
        // This function is found in "forms.js"
        // The method is "vanilla JavaScript" so should work with any JS framework.
        const response = ccms___PostForm(signUpEndpoint, formName);

		// The response is a "promise"
        response.then(function (data) {
            $("#divFrmContacts").hide();
            $("#divFrmContactsThankyou").show();
        })
        .catch(function (data) {
            alert(data);
        });

    });
</script>
About “ccms_PostForm()”
Why use the “ccms_PostForm” method? It automatically makes use of the ASP.NET Cross-Site Request Forgery (XSRF/CSRF) attack prevention techniques. Namely, the “Antiforgery Token” system. In short, before the form is posted it applies the antiforgery token to the form. Comos validates this token before accepting the data.
Customer Contact List
View your customer list by clicking on the “Menu” button, then select “Contacts.” You will see a customer list like the one below.
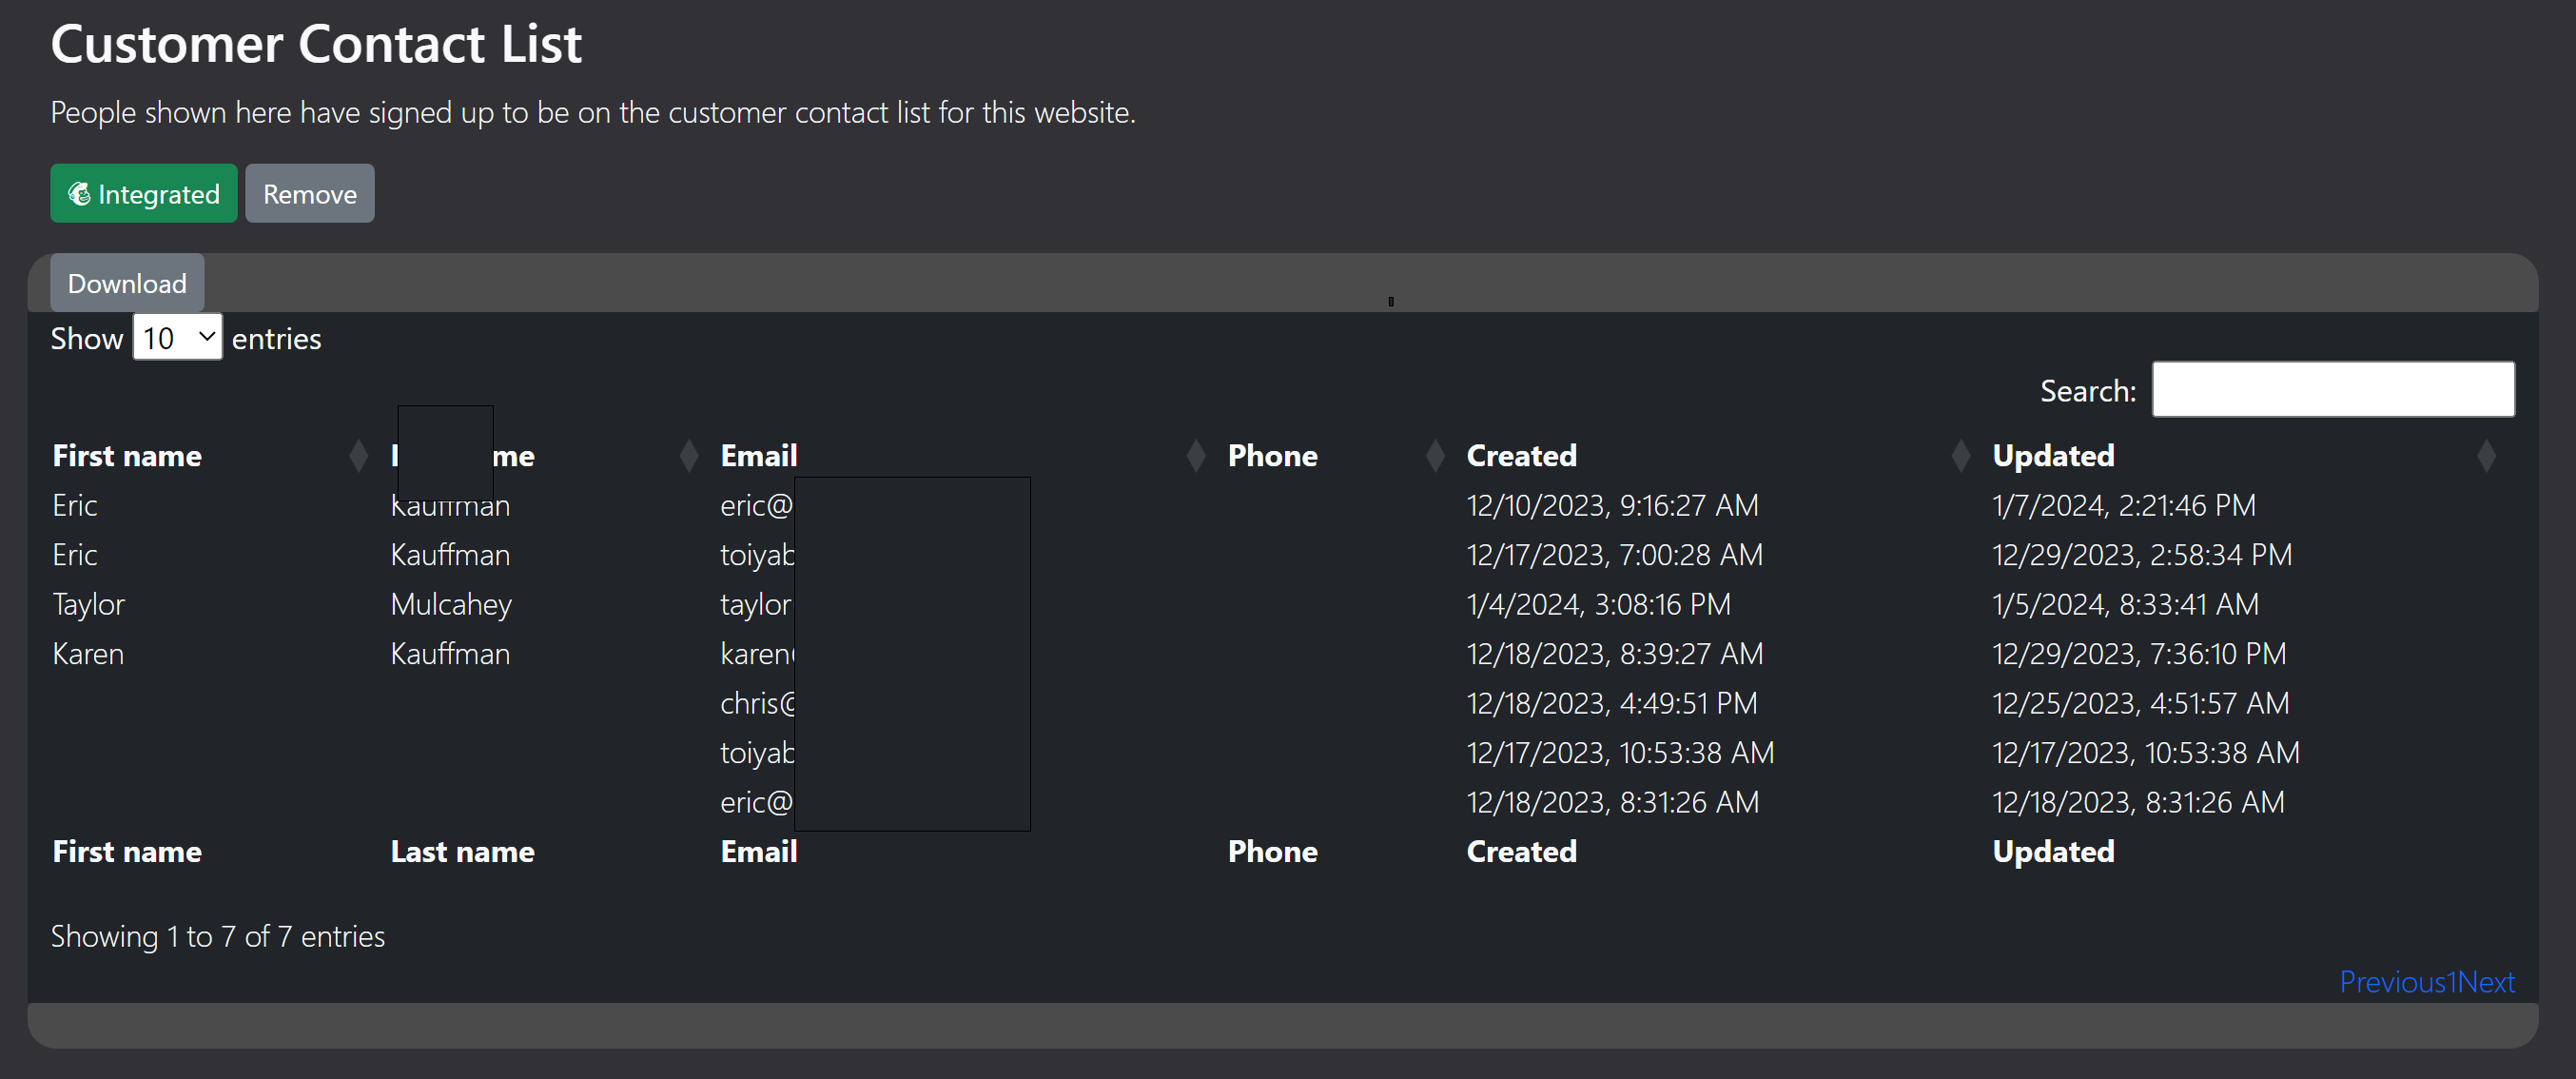
Click the download button to export your contacts to a spreadsheet program. If your list is integrated with MailChimp, you will see the “Integrated” button.
MailChimp Integration
Cosmos allows your contacts to be forwarded on to your MailChimp account.
Need a MailChimp account?
To set up, go to the customer contact list.
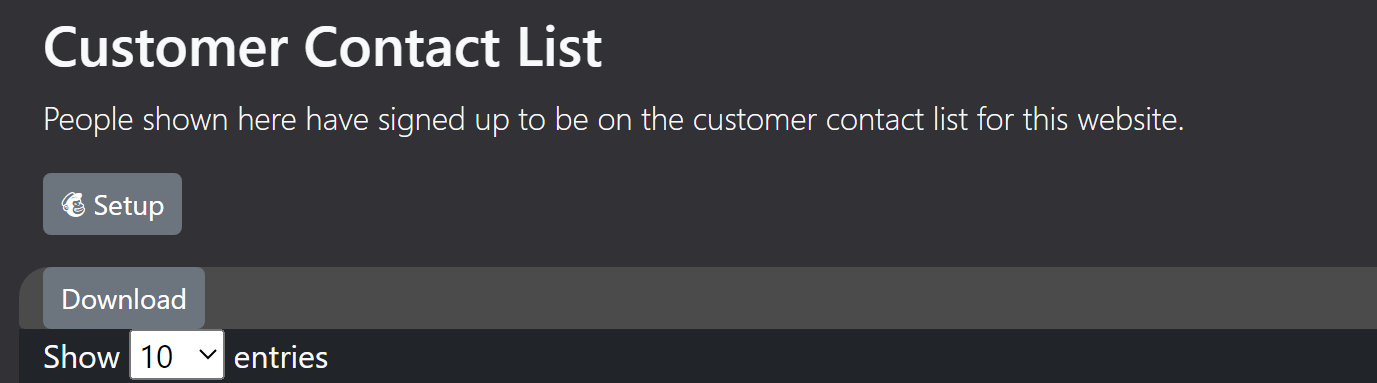
Find the “Setup” button and click on it. This will display the following dialog.
Create a MailChimp API key and enter that in the field below.
The “Email list name” corresponds the MailChimp “Audience.” Create an Audience and enter than name below.
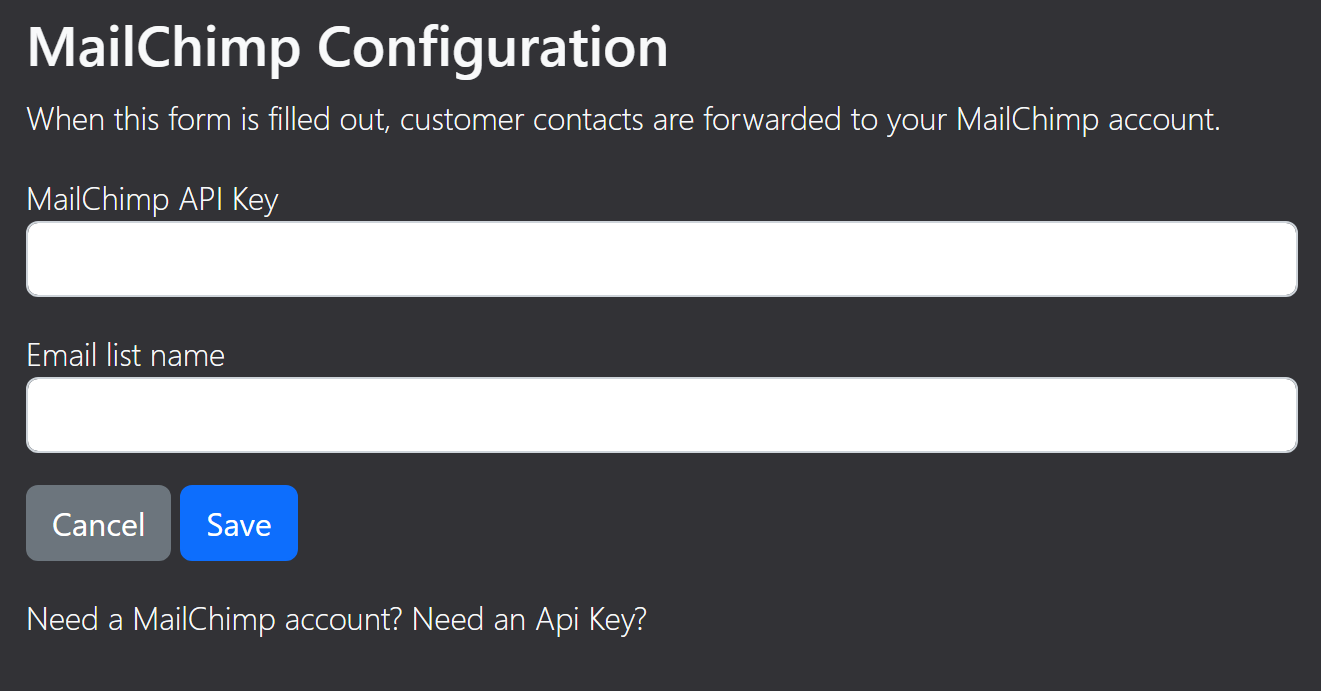
Click “Save” when finished to save the settings. Back to the customer list, you will notice that the “Setup” button is now replaced with the “Integrated” and “Remove” buttons.

Now when a customer signs up on your website, their contact information will simultaneously be sent to your website and MailChimp.