Setup a Virtual Network for Cosmos
In this article we show how to setup a Virtual Network (VNet) that will make communications between the Publisher and Editor App Services, and Cosmos DB and Azure Storage account private and more secure. This also shows a basic implementation of a VNet. You can go further than what is shown here by adding a Network Security Group and/or a Firewall.
Before beginning this process: Ensure that your Cosmos site is installed, your administrator account is set up, and at least a home page has been created.
Create the Virtual Network
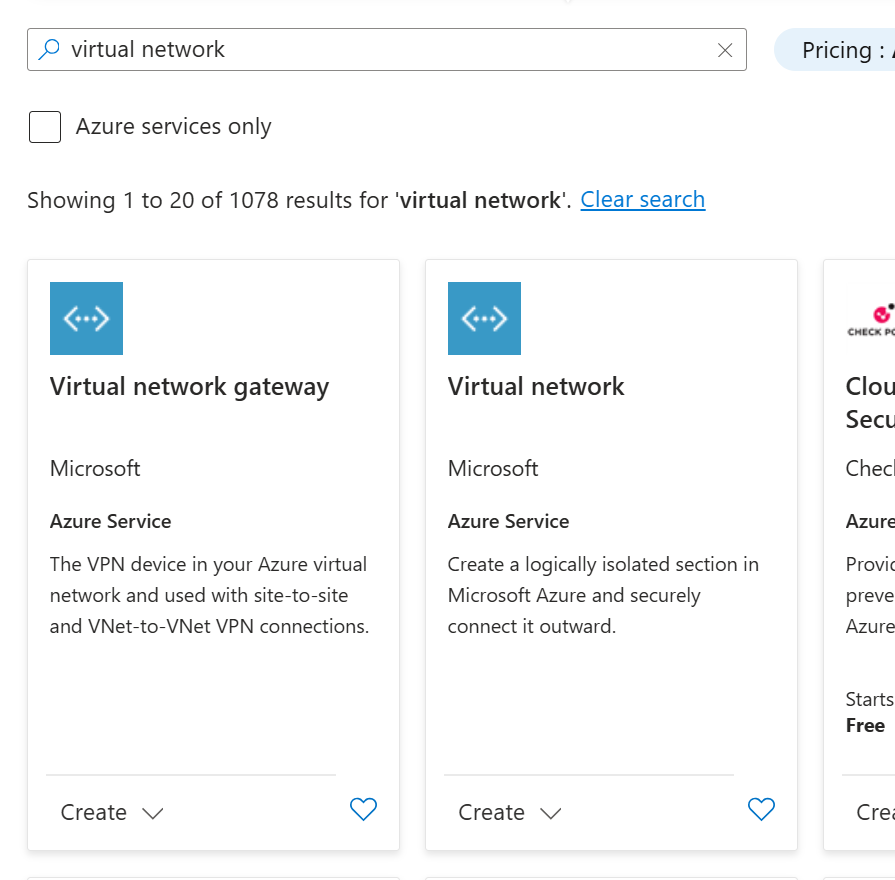
Start with the Azure Portal and navigate to the Resource Group where Cosmos is installed. Near the top of the page, click the “Create” button. This will bring up the Marketplace. Search for “virtual network," and once you find it click on “Create” to get started.
On the next screen give the Vnet a name, and make sure it is in the correct resource group and region.
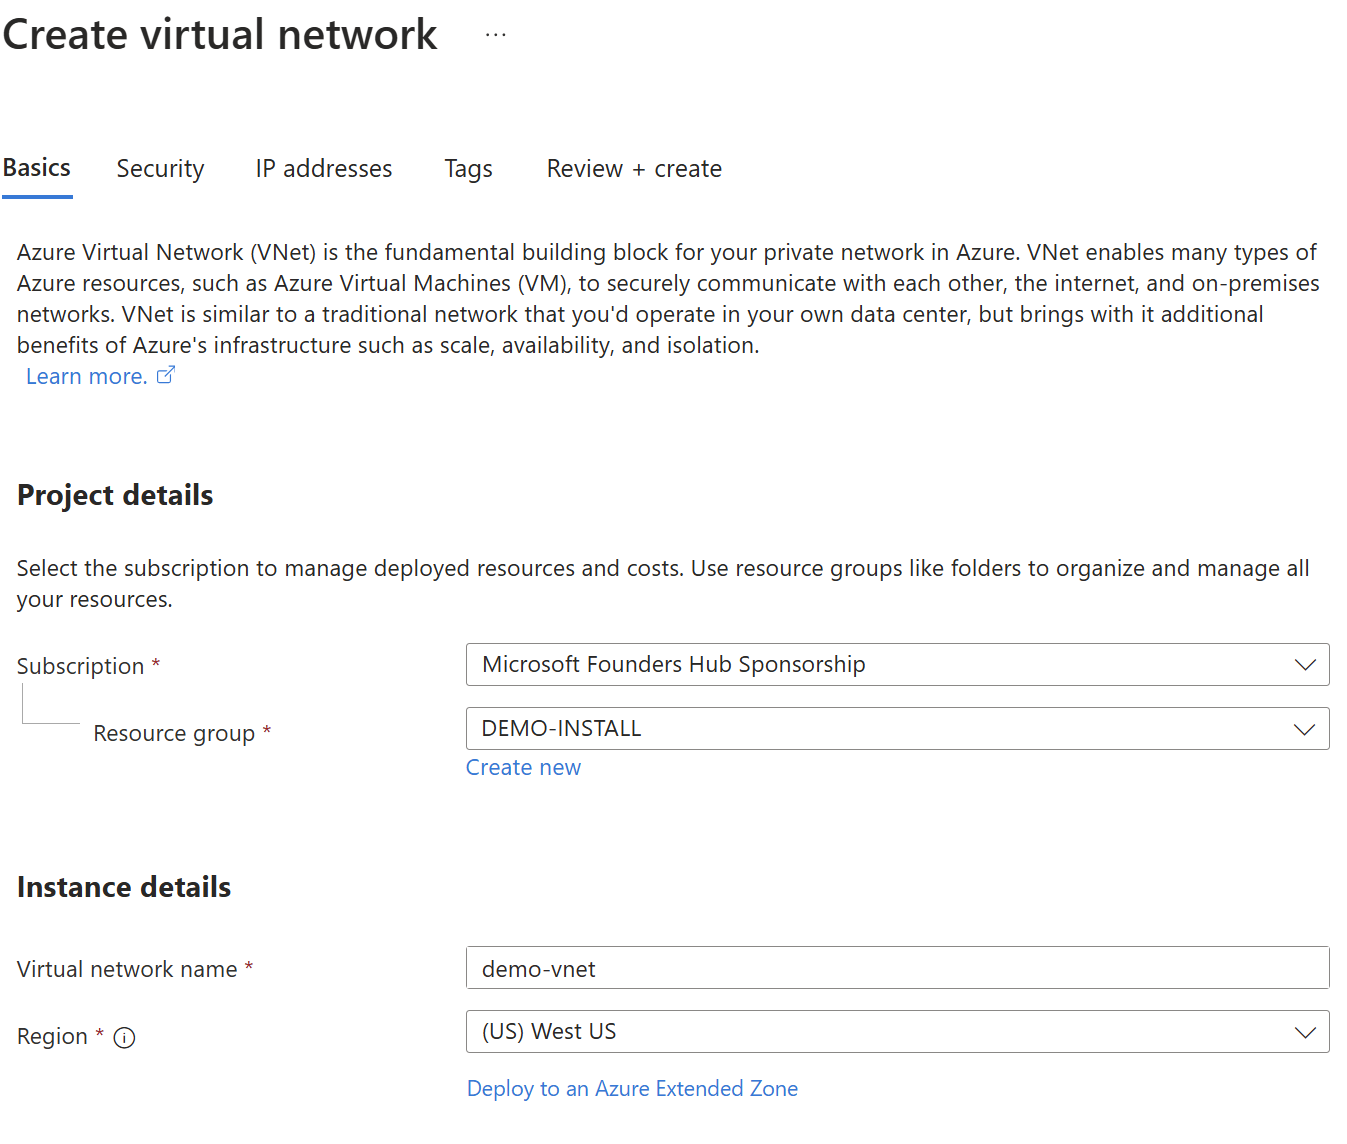
At this point you can click on “Review and Create” at the bottom of the dialog or click “Next” to see all the options available. In this example we are clicking on “Review and Create.”
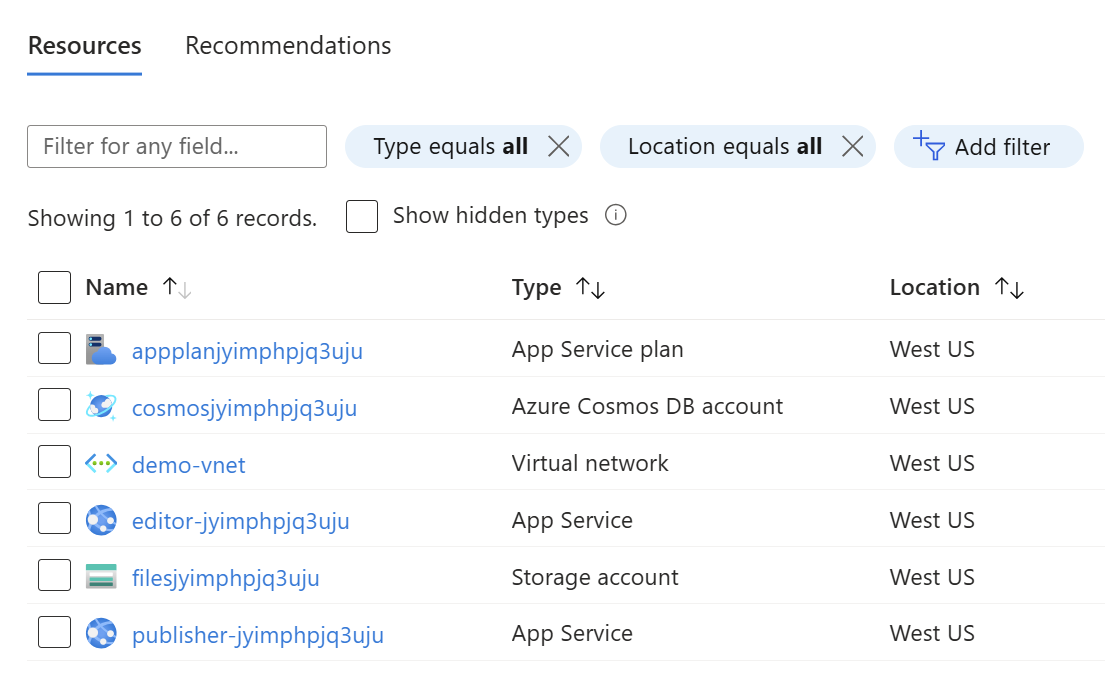
On the next screen you will see a summary of what is about to be created. Click “Create” when ready. When done you will see a screen like below. From here click on the Resource Group name.

In your Resource Group, you should see a list like this that includes a virtual network:
Connect Cosmos DB
Our next step is to connect our database to it. Start by clicking on the Cosmos DB account.
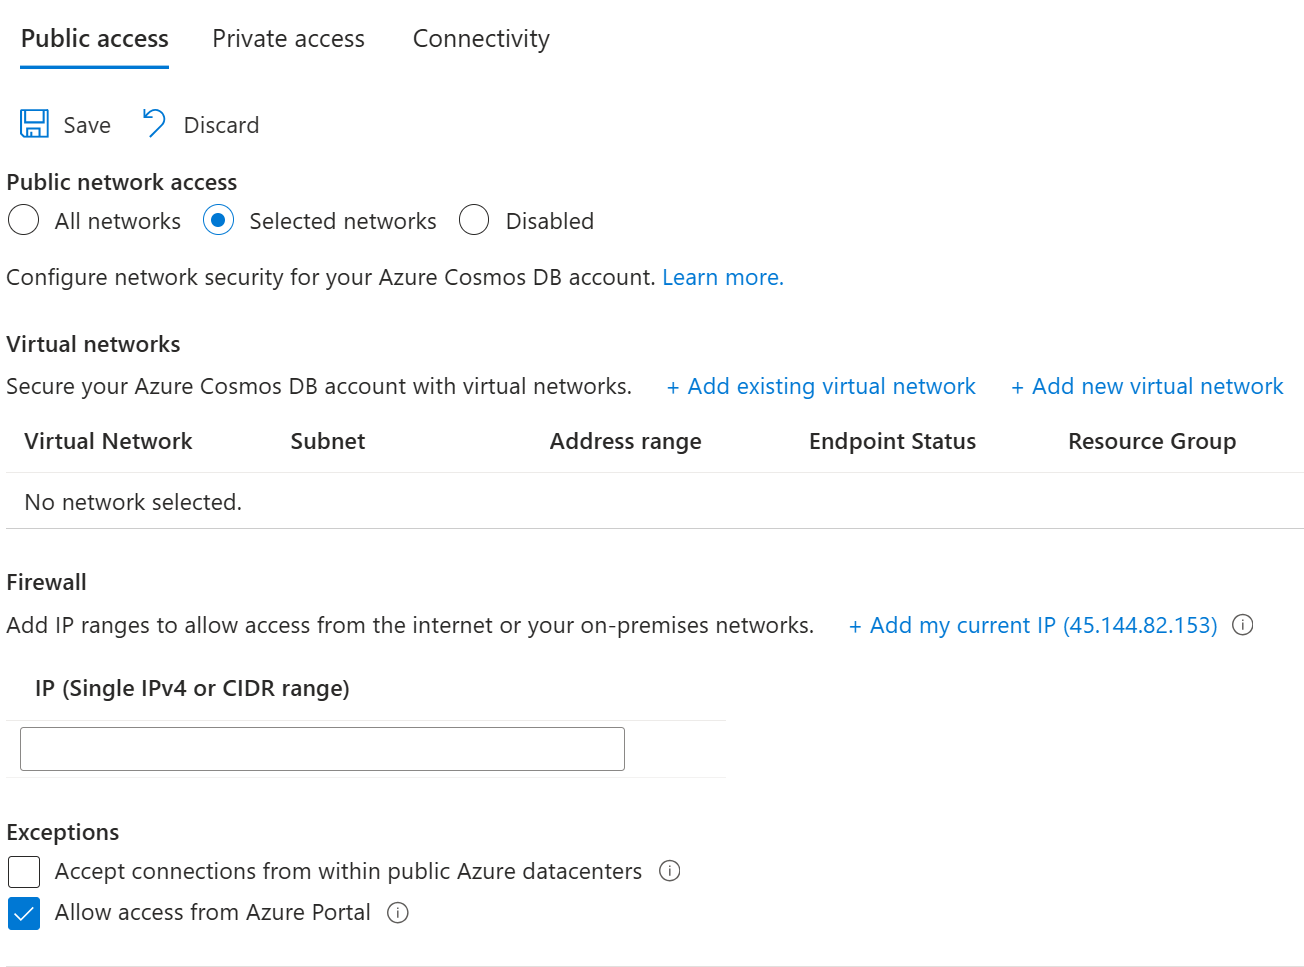
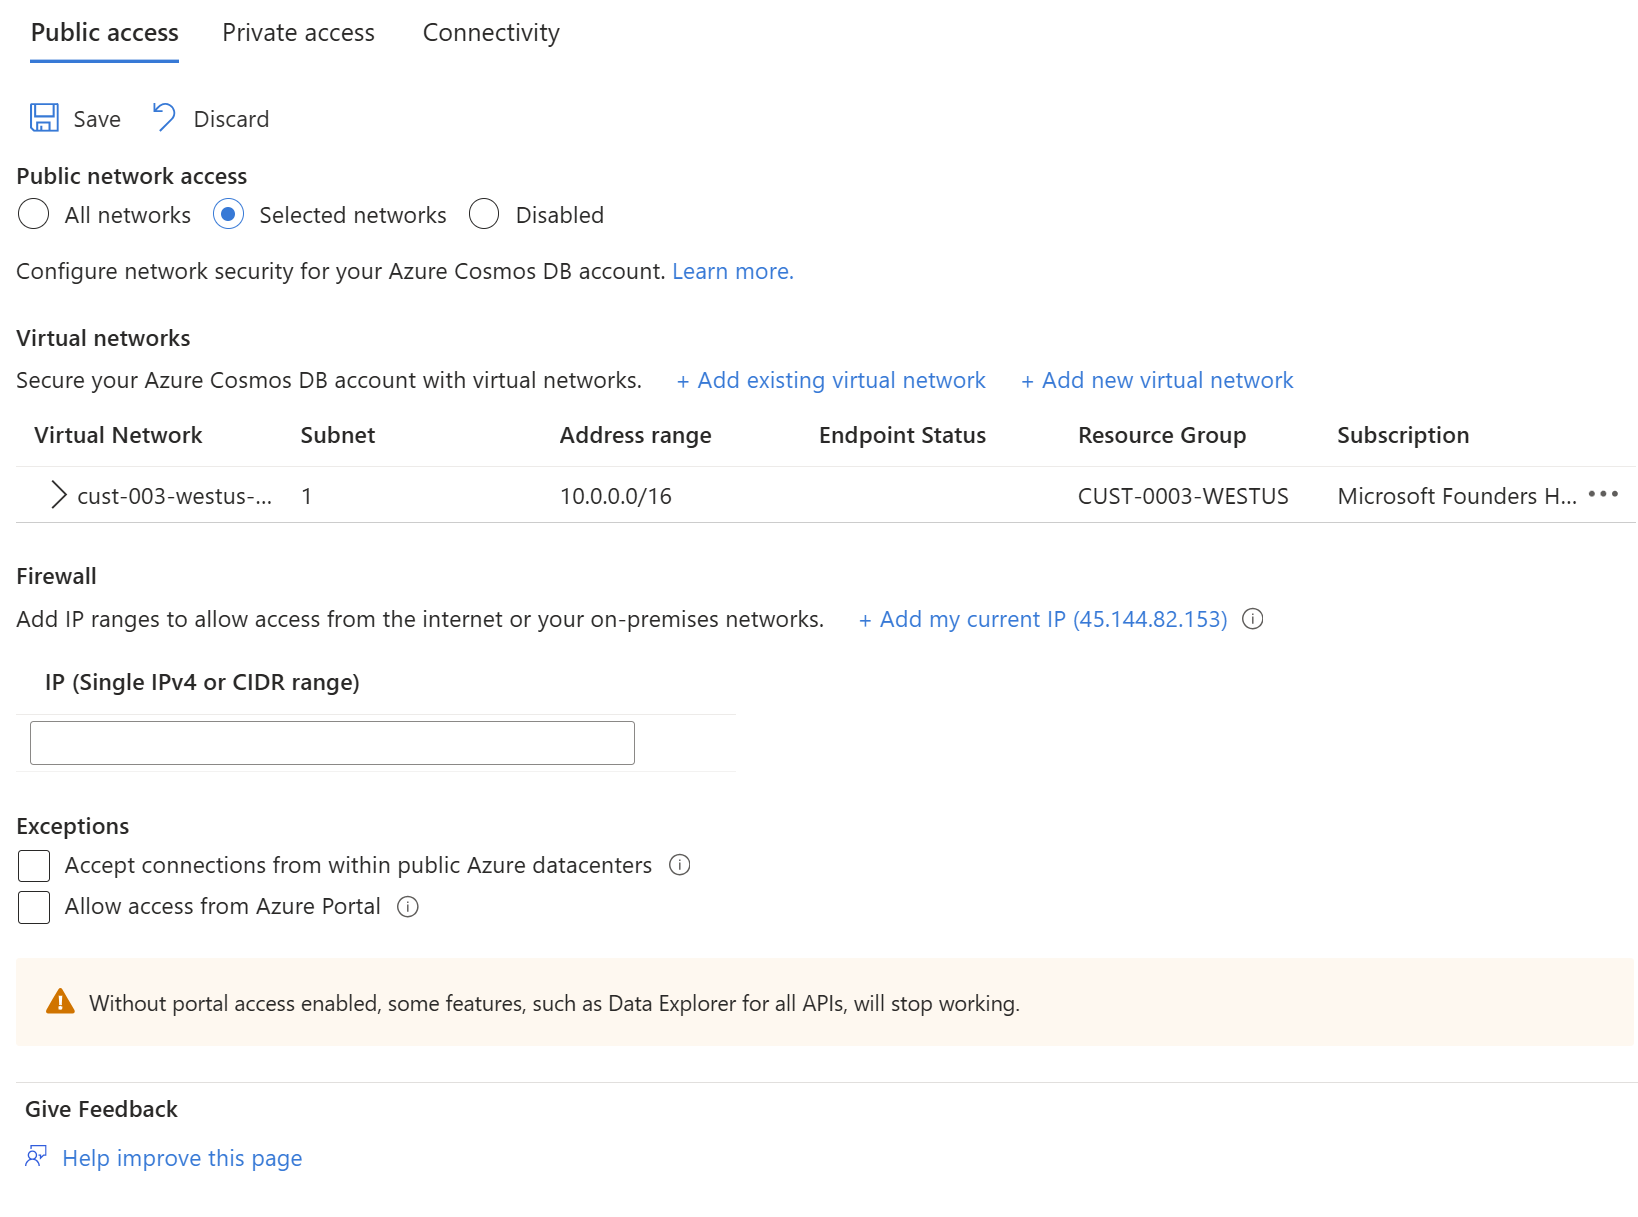
On the left edge of the Cosmos DB page, click “Settings” and then “Networking.” You should see something like below. Select Public network access from “Selected networks” and then click “+ Add existing virtual network.”
Special note: Check “Allow access from Azure Portal” so you can interact with the database from the portal.
The add networks dialog appears. Select your existing virtual network and the default subnet as shown, then click “Enable” near the bottom of the page.
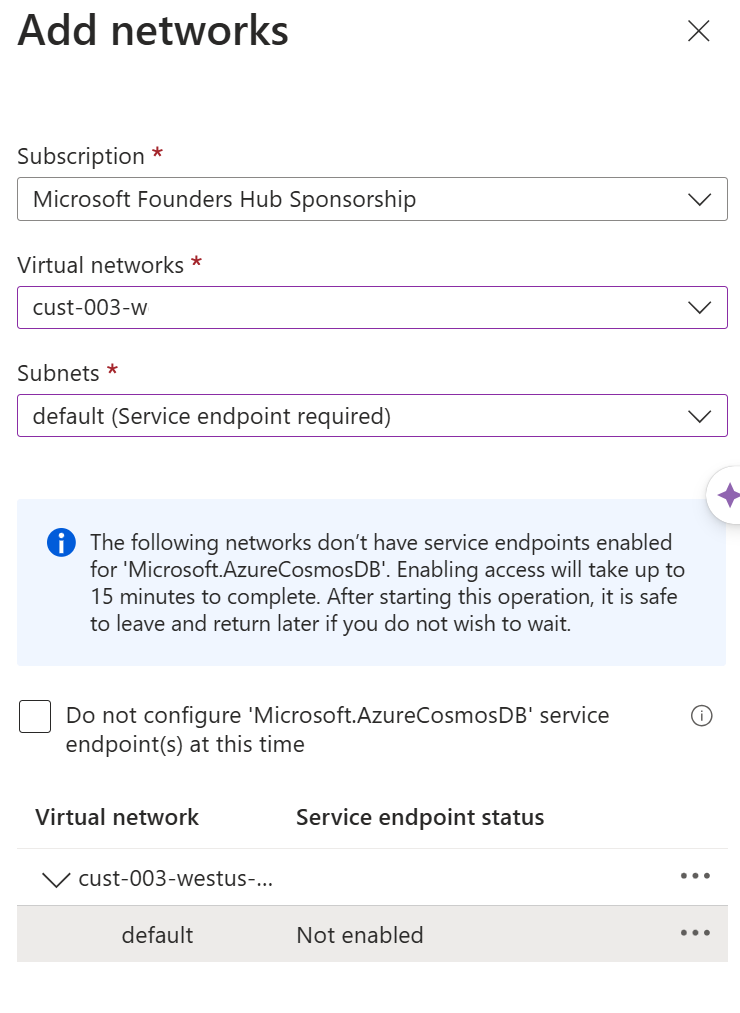
The next dialog will confirm that the subnet was “Enabled,” now click “Add.” Now you should see a screen like the one below. When ready click “Save”.
Take note:
- This will disconnect the database from your Publisher and Editor App Services until each are added to the VNet.
- Changes to the Azure Cosmos DB are not immediate, it may take ten minutes or more to finish.
Connect the Editor App Service
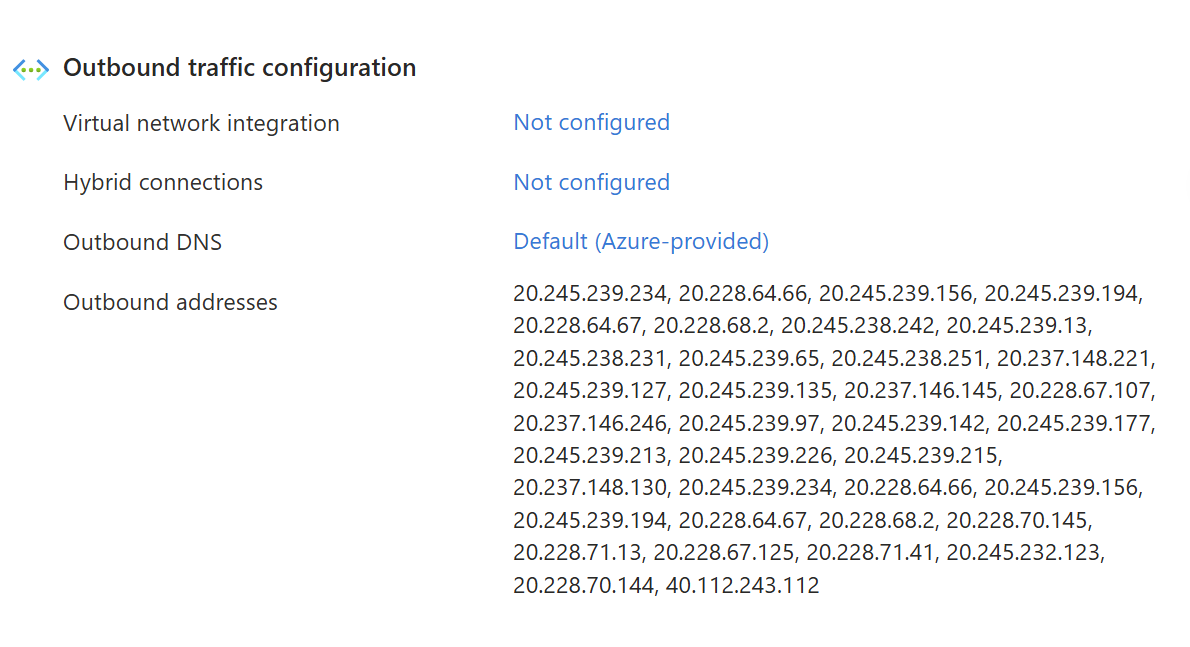
Using the Azure Portal, navigate to the Resource Group where Cosmos is installed and click on the “Editor” App Service (name starts with “edi-”). Find “Settings” and select “Networking.” Under “Outbound traffic configuration” find “Virtual network integration,” and click on the link to the right that says, “Not configured.”
A new page will appear, now click the “Add virtual network integration” button.
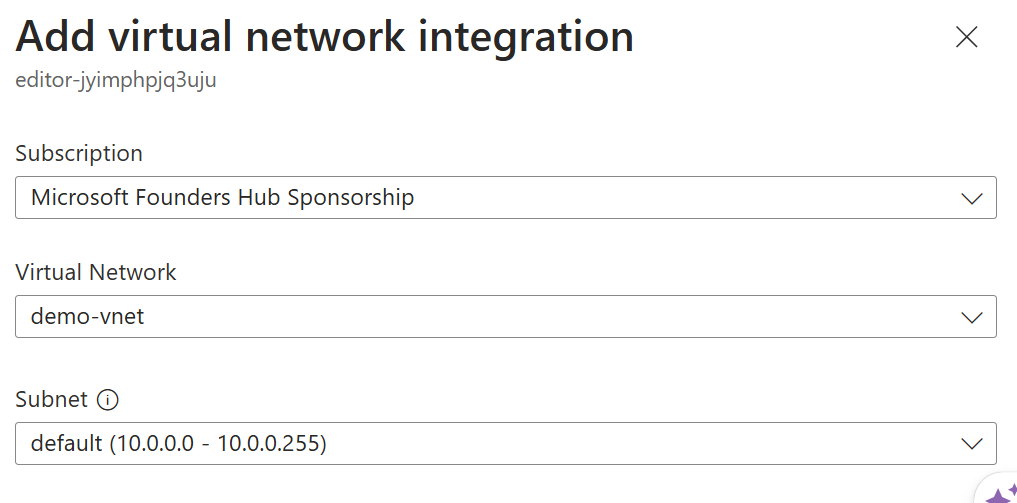
In the dialog select the new virtual network that you created and the default subnet. Down below click the “Connect” button.
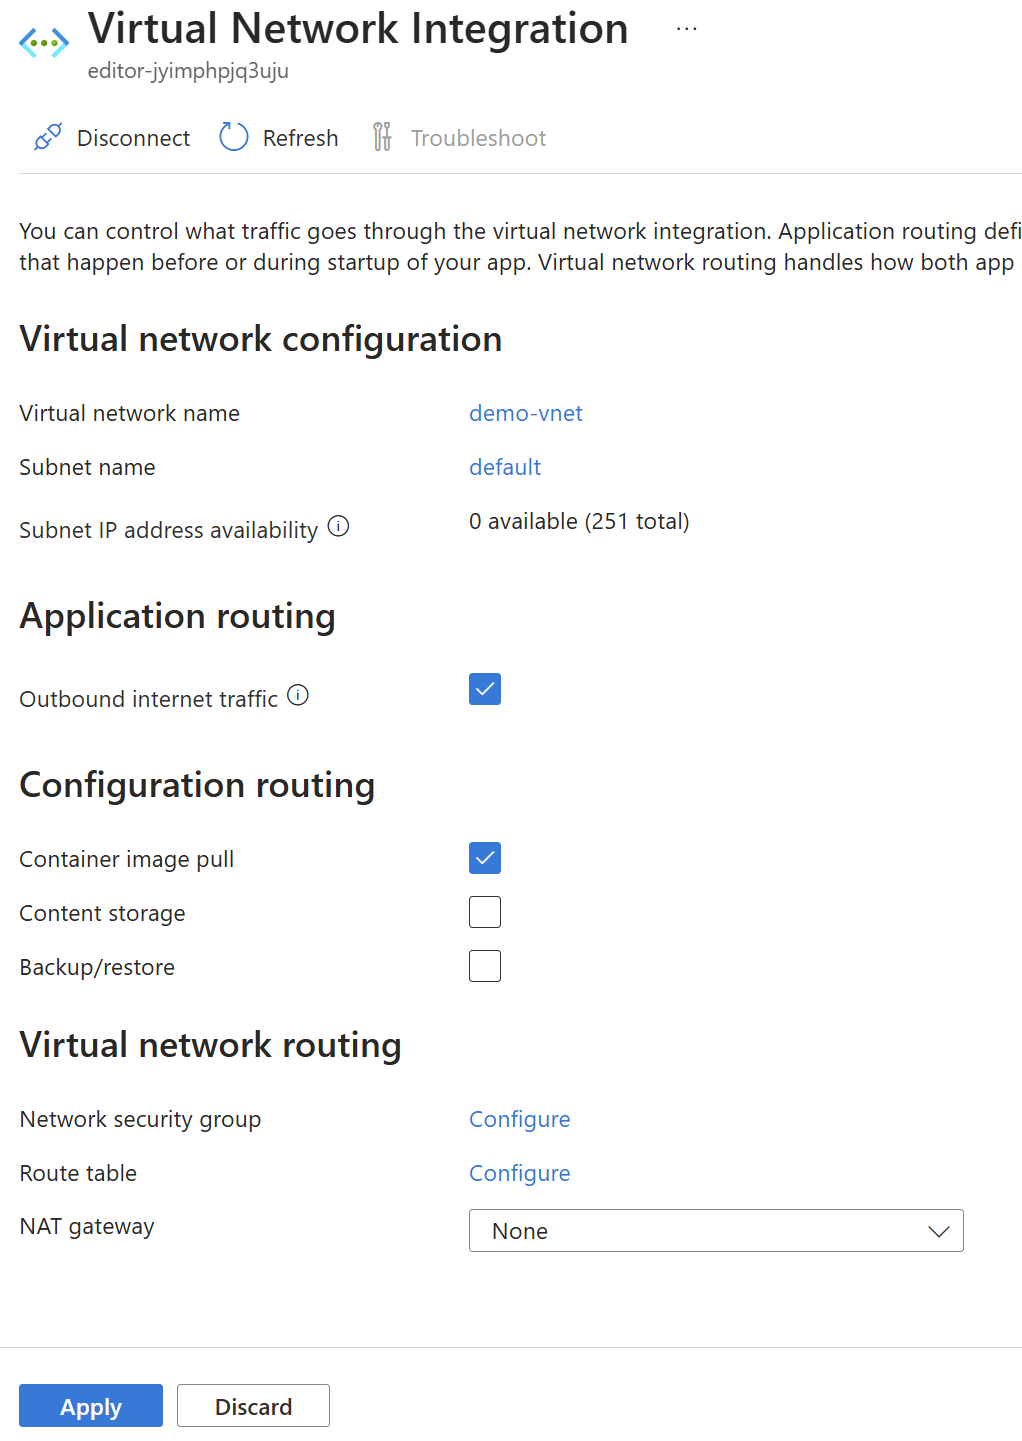
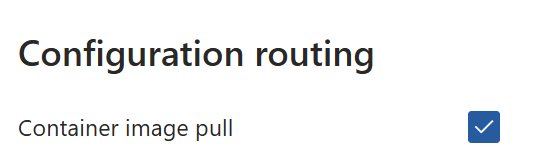
On the next dialog (shown below) make sure you have “Container image pull” checked. Then click the “Apply” button.
Connect the Publisher App Service
Using the Azure Portal, navigate to your Publisher App Service (name starts with “pub-”), then select “Settings” and “Networking” from the menu on the left. Just as before under “Outbound traffic configuration” find “Virtual network integration,” and click on the link to the right that says, “Not configured,” then click the “Add virtual network integration” button.
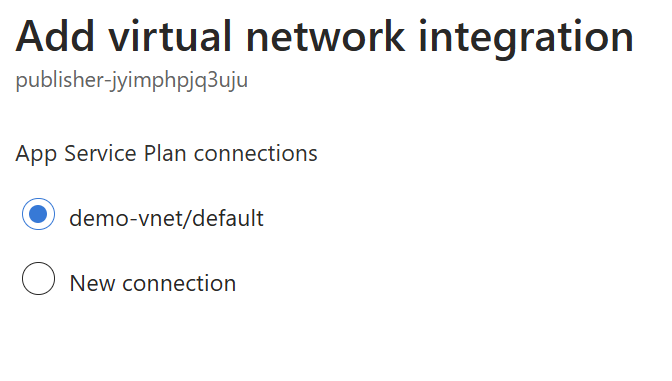
Now you will likely see something different. The VNet you just created should appear like below. Simply select it and click the “Connect” button at the bottom of the dialog.
On the next screen make sure you have “Container image pull” selected, then click the “Apply” button at the bottom of the dialog.
Connect the Storage Account
Please be aware that integrating the storage account into the VNet may reduce your website's performance. This is because static assets such as images, CSS, JavaScript, and other files will be delivered through the Publisher App Service rather than directly from the Azure Storage static website. If performance is a critical issue, consider omitting this step.
Begin by locating the environment variable named “AzureBlobStorageEndPoint” for both the Editor and Publisher, and modify its value to “/”. This adjustment is necessary because the storage account's static website will no longer be accessible to the public and content must be routed through the Publisher.
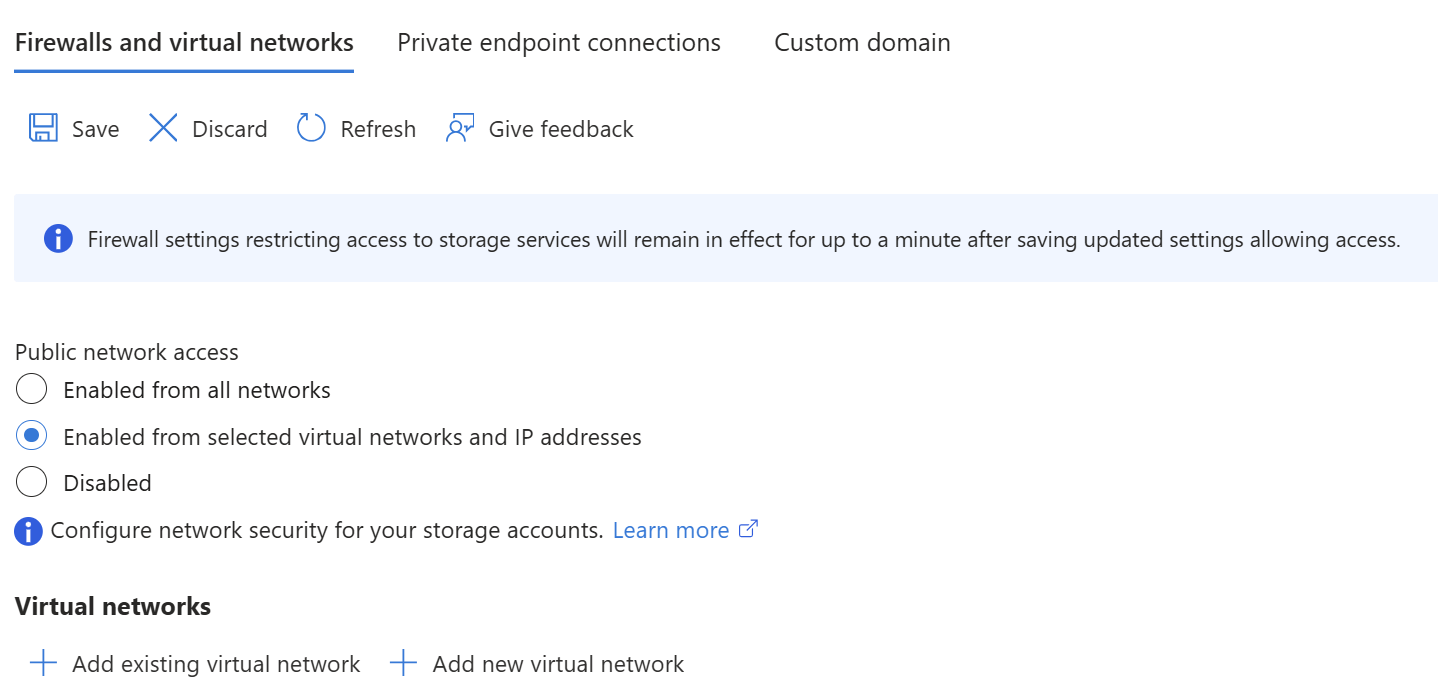
Next, using the Azure Portal, return to your resource group and select the storage account. On the left-hand menu find “Security + networking,” then click “Networking.” Now select “Enabled from selected virtual networks and IP addresses,” then click “Add existing virtual network.”
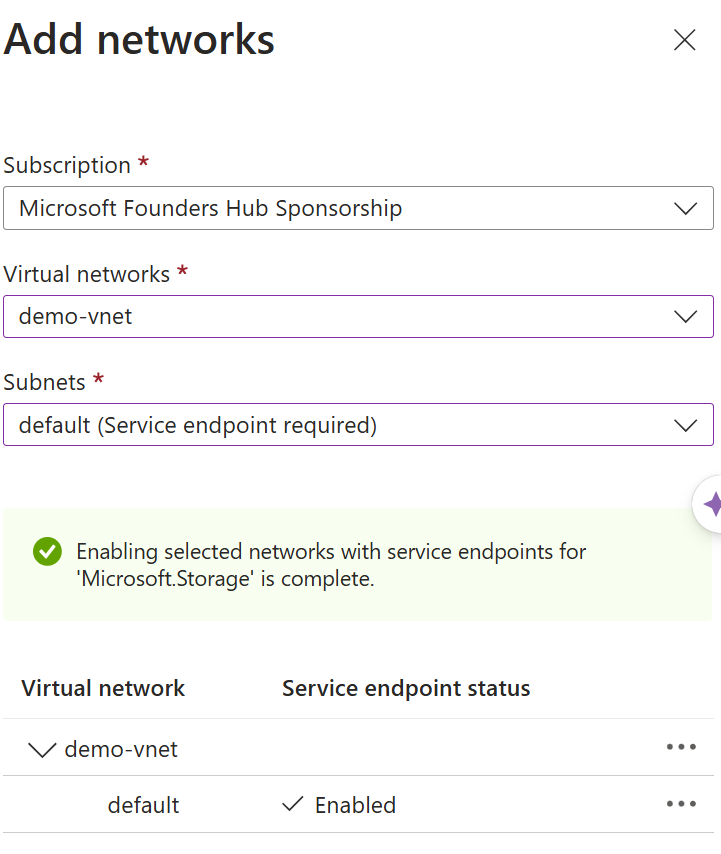
Now select the virtual network you created and the default subnet. Then click the “Enable” button at the bottom of the dialog.

Wait for the endpoints to be enabled and a screen like this appears:
Now click the “Add” button at the bottom of the dialog. On the next screen click “Save.”