A guide to tuning the
Azure Front Door Web Application Firewall
This guide outlines the process for tuning the Web Application Firewall of Azure Front Door. It demonstrates the configuration of Azure Front Door Premium with the managed Microsoft Default Rule Set (DRS) 2.1 for Cosmos CMS. This methodology can be applied to a variety of web applications that are protected by this firewall.
The text presupposes that Azure Front Door Premium has been set up for Cosmos (or your web application) with a web application firewall (WAF), utilizing a policy derived from DRS 2.1.
Quick Notes:
- Much of this article is based on the article, Tune Azure Web Application Firewall for Azure Front Door.
- Download the Prebuilt Azure Front Door WAF Policy for the Editor.
- The publisher uses the “out of the box” WAF policy (DRS 2.1) with all default settings unmodified.
Overview
DRS 2.1 comprises a comprehensive set of rules that assess every incoming request to your website. When a rule is triggered, it contributes a certain value to an overall score. Depending on which rule is activated, and the combination of rules triggered, the cumulative score may reach a threshold that prompts the firewall to block the request.
In an ideal scenario, all rules would remain "on" to ensure maximum protection. However, it's common for some rules to inadvertently block legitimate website requests, known as "false positives." To ensure your website functions correctly, you might need to deactivate some rules. Remember, the more rules that are active, the stronger the firewall protection. The aim of "firewall tuning" is to loosen the rules sufficiently to allow your website to operate smoothly.
Tuning Code for the Firewall
Best practices suggest performing firewall tuning in tandem with potential modifications to your web application, which facilitates the preservation of certain firewall rules. Such attention has been applied to Cosmos, where code alterations have been made to enable the retention of specific firewall rules.
Tuning Steps
Tunning the firewall essentially means to do the following:
- Enable Logging
- Test the web application
- Generate the log report
- Resolve false positives
- Retest
- Enable prevention mode
The following describes each with more detail.
1. Enable Logging
Knowing what rules are being triggered is the first task of tuning. Start by setting up logging. This involves enabling both “detection mode” and WAF logs being sent to a log analytics workspace. Here is how to do both:
Enable Detection Mode
Detection mode configures your firewall to log traffic that would otherwise be blocked, rather than stopping it. Begin by locating your Front Door in the Azure Portal. Then, from the menu on the left, select “Security Policies.”
Then find the “web application firewall” policy as shown below. Note: Your policy may be named something different. Click on the policy name.
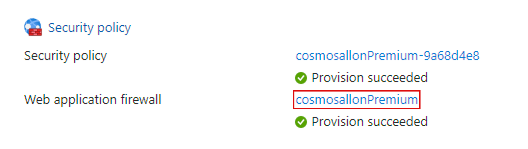
From the next page, click again on the web application policy name.

Now you should be on the “Front Door WAF Policy” page. From here check where it says “Policy mode.” If it already says “Detection” nothing further needs to be done. If it says “Prevention” click “Switch to detection mode” in the menu near the top of the page.

Turn on WAF logs
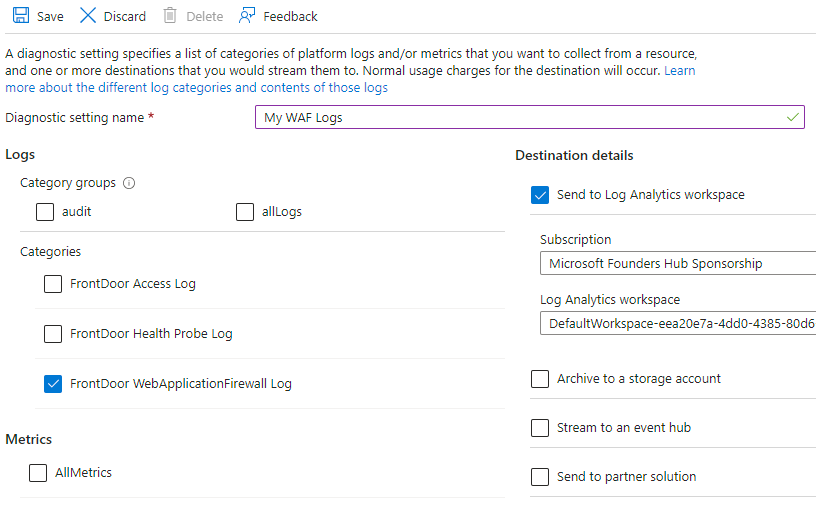
Navigate back to the overview of your Front Door on the Azure Portal. This time expand “Monitoring” on the left edge menu then pick “Diagnostic settings.” From here click “Add diagnostic setting” if you do not already have a setting that sends log data to a Log Analytics Workspace.
From here at minimum check “FrontDoor WebApplicationFirewall Log.” In this guide we want to “Send to Log Analytics workspace.” Also, give this diagnostic setting a name that makes sense to you. Then click “Save” when ready.
Now everything is ready for the next step, and that is to test your web application to collect data.
2. Test the web application
Return to the Front Door overview page and find the “Endpoint hostname” for your web application. Open your website from this host name. This ensures you are accessing the web application through the WAF.
Now, spend some time using your website to ensure that all web pages and functionalities are thoroughly tested. As you navigate, the firewall rules that are triggered will be logged. After you have exercised every aspect of your website and are confident that everything has been tested, proceed to the next step.
3. Generate the log report
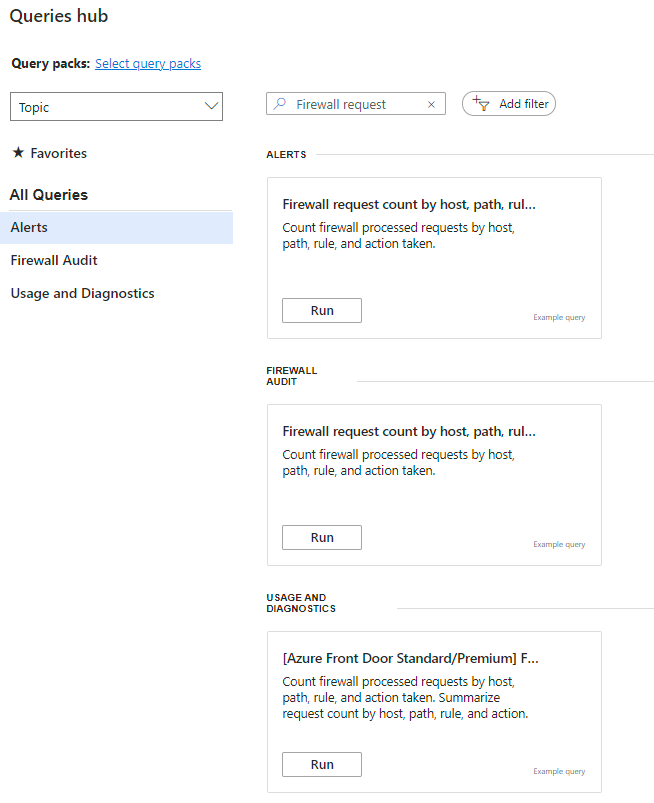
From your Front Door overview page click on “Monitoring” on the left edge menu then click on “Logs.”
The Queries Hub will appear. From here search for “Firewall request”. Find under “Usage and Diagnostics,” click “Run” for the report “[Azure Front Door Standard/Premium] Firewall request count by host, path, rule and action.”
Reading the Logs
The above query will execute a report of all logged Azure Front Door WAF activities. Below is an example of such a report.
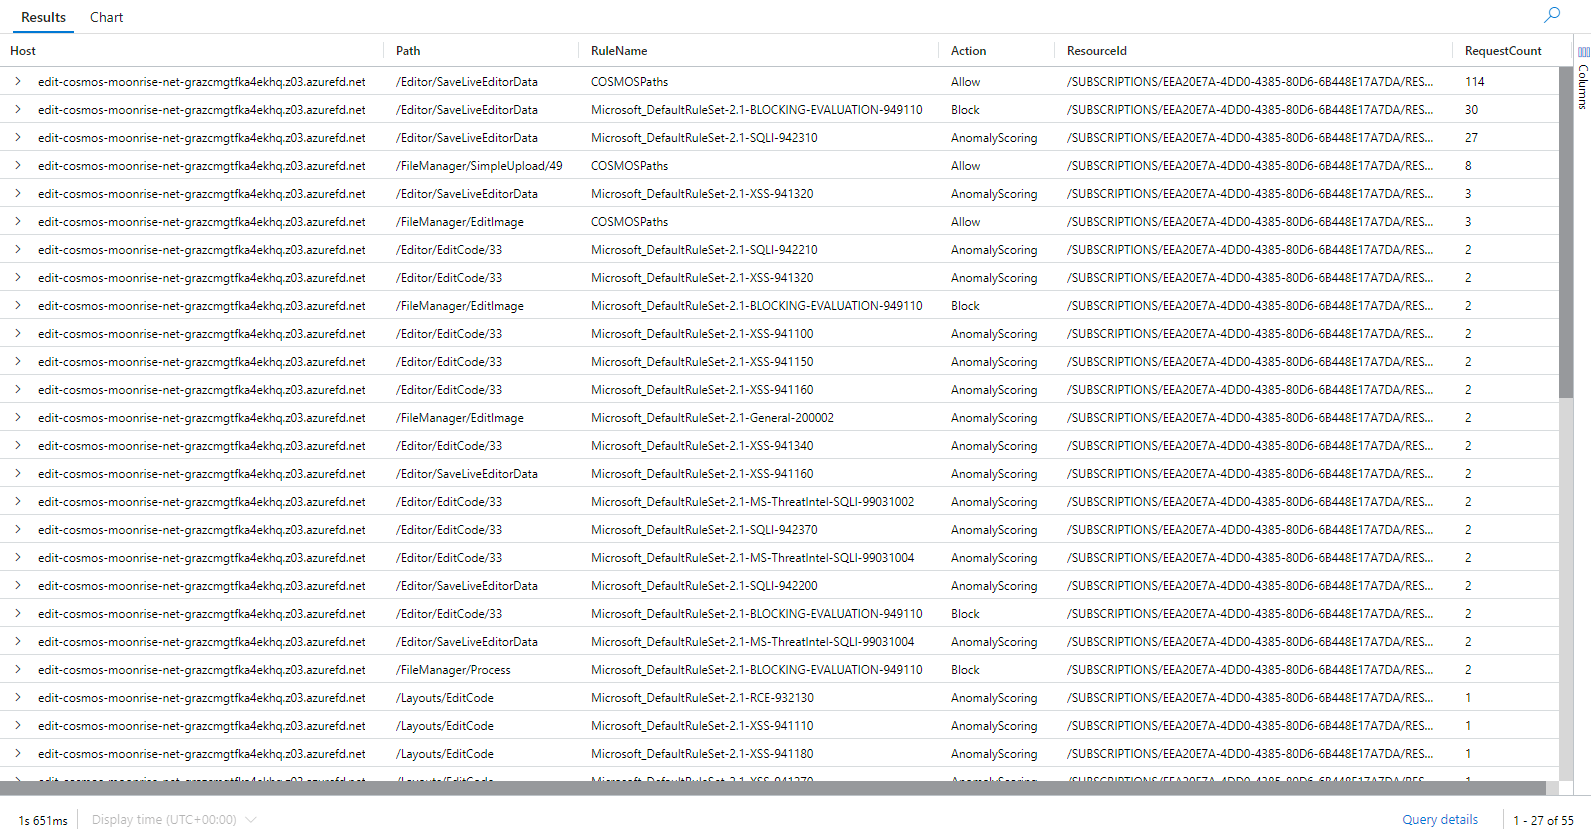
Every line in the WAF log corresponds to a specific request. The columns contain details about that request, and among these columns, there are four that are particularly important to focus on:
- Host
- Path
- RuleName
- Action
Host is the endpoint that was logged. This becomes important if your Front Door is being used for multiple websites or API end points. If this is the case, focus on the endpoint, or host, that you are tuning.
Path is the relative URI to the website that was called.
RuleName denotes the rule that took the action. The “managed rules” have names that denote the ruleset, what it addresses, and a number.
Action column indicates what happened. “Allow and Block” are self-explanatory. The rows to pay attention to are the ones with “AnomalyScoring.” This shows particular rules that are being triggered and adding to the “score.” If the score gets too high, it will be “blocked.”
4. Resolve false positives
Reading and interpreting the log report will help identify web traffic that is incorrectly being flagged as malicious. Resolving these “false positives” largely involves one of two general approaches:
- Initially, try to address false positives by not modifying the WAF; instead, modify the application to prevent the generation of false positives in the first place. This was precisely our starting point for Cosmos.
- Next, we consider modifying the WAF with the goal of only making the least number of changes necessary to handle the false positive. These changes include:
- Defining rule exclusions
- Change WAF actions
- Use custom rules
- Disable rules as a last resort
Based on our experience, altering Cosmos code greatly decreased the incidence of false positives. For the "Editor" application, this resulted in us making minimal, targeted adjustments to the WAF.
Tip: You can download that policy from here.
Regarding the "Publisher," we managed to eliminate all false positives through code modifications, meaning the "default" Microsoft ruleset, without modifications, functions effectively.
5. Retest website
After resolving the false positives test your website again and log any rulesets being tripped. It is not uncommon to miss something on the first attempt. Repeat the process for any new false positives.
6. Enable protection mode
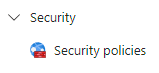
Once satisfied that all false positives are taken care it is time to enable “protection” mode. Start by navigating to your Front Door using the Azure Portal. From here expand “Security” on the left-hand menu and pick “Security policies.” Find the policy and click on it (example shown below highlighted in red).
On the next page, again click on the web application firewall policy. If in detection mode, you will likely see the following:
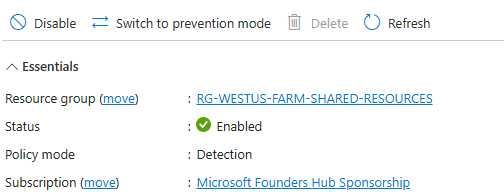
If so, click the “switch to prevention mode” button as seen here.
7. Monitor performance
With the WAF now in prevention mode, it's crucial to keep an eye on user feedback for any "bugs" that may be reported, as well as to vigilantly check the WAF logs for any emerging "false positives." As your application evolves, in its functionality or usage, or as updates are made to the managed WAF rule sets, you might find it necessary to revisit this monitoring process periodically.